
 Pin it
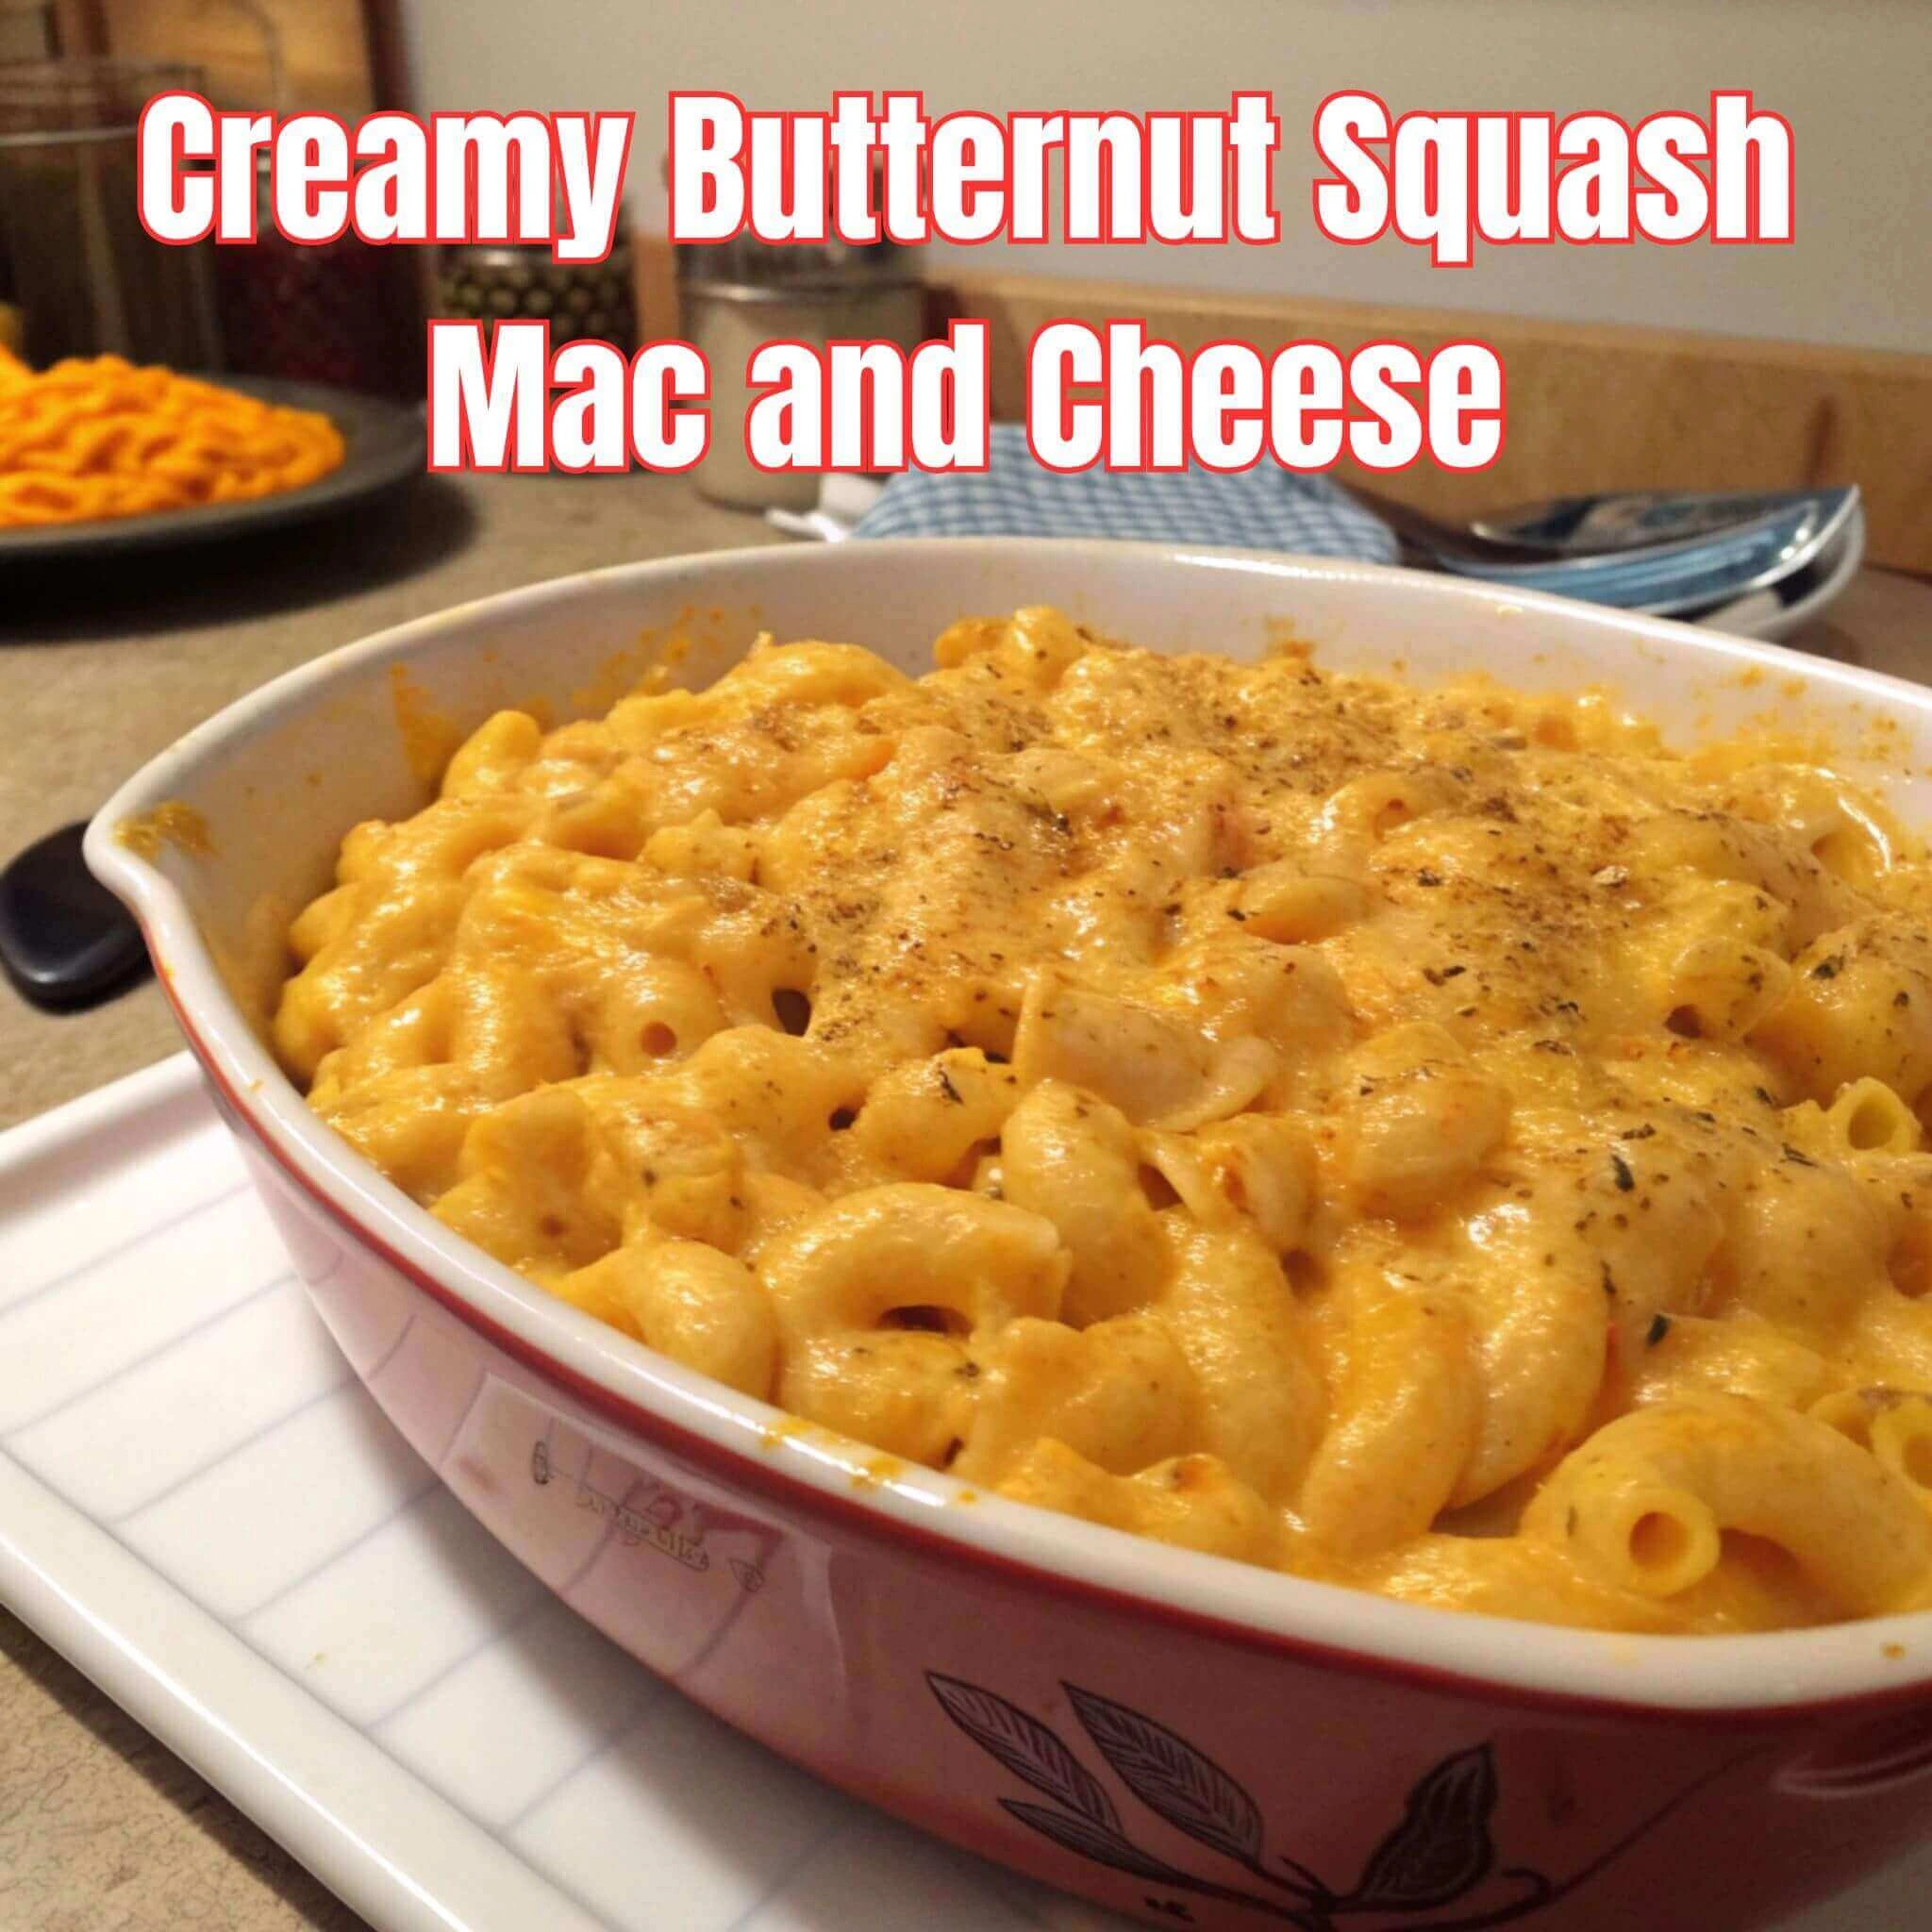
Okay, so picture this: It's a drizzly Sunday afternoon, I'm curled up on the couch with a blanket, feeling all sorts of blah. And then, BAM! This recipe idea hit me like a ton of bricks or maybe a ton of cheese, which is kinda the same thing. I'd been meaning to try a healthier mac and cheese, but honestly, I was skeptical. Could anything ever replace the glorious, processed, neon-orange stuff of my childhood? To be real, probably not. BUT, this butternut squash mac and cheese? It's become my ultimate comfort food glow-up. The kitchen smelled like roasted squash and cheesy goodness, and I knew, just knew, this was going to be special. (Spoiler alert: It was.)
The first time I made this, I totally over-roasted the squash. It was like a blackened hockey puck. Oops! Learned my lesson there. Now I use a timer, because apparently I can't be trusted. 😅
Ingredients
- Base Ingredients: 1 medium butternut squash (about 2 lbs) this is where the magic happens! The sweetness adds a depth you just wouldn't believe. Roasting it brings out all the cozy fall vibes.
- Cheesy Delights: 1 lb elbow macaroni (or any short pasta you love, honestly) classic comfort food shape! Don’t you dare use gluten-free pasta here, just don’t.
- Flavor Boosters: 1 tbsp olive oil, 2 cloves garlic (minced the more the merrier!), 1 tsp dried thyme, 1/2 tsp salt, 1/4 tsp black pepper garlic is life. Thyme adds that little something extra.
- Creamy Dreamy Sauce Makers: 1/2 cup milk (whole milk, please we’re not messing around here!), 1 cup grated cheddar cheese (sharp cheddar is my jam), 1/2 cup grated Gruyère cheese (it adds a fancy touch, shhh), 1/4 cup nutritional yeast (for that extra cheesy kick, plus some sneaky nutrients don’t tell anyone!) this is where it all comes together, the moment of truth!
- Finishing Touches: 1/4 cup breadcrumbs (panko or regular, whatever you have), 2 tbsp grated Parmesan cheese for that crispy, golden topping. Because everything is better with a crispy topping.
Instructions
- Step 1: Roast the Squash
- Preheat your oven to 400°F (200°C). Peel, seed, and cube the butternut squash (this is the part where I always cut myself, so be careful!). Toss it with olive oil, salt, and pepper. Spread on a baking sheet and roast for 25-30 minutes, or until tender and slightly caramelized. That roasted squash smell? Yeah, that’s the good stuff.
- Step 2: Cook the Pasta
- While the squash is roasting, cook your pasta according to package directions. This is the part where I usually forget to salt the water, so don't be like me. Al dente is key here, people! We don't want mushy mac.
- Step 3: Sauté the Garlic
- Heat the olive oil in a large saucepan over medium heat. Add the minced garlic and thyme. Sauté for about a minute, until fragrant. Be careful here, I've burned the garlic more times than I care to admit. Low and slow, folks.
- Step 4: Blend the Squash
- Once the squash is cooked, transfer it to a blender (or use an immersion blender, like the cool kid I am). Add the milk and blend until smooth and creamy. This is the step where my blender once exploded butternut squash all over the kitchen. Good times. Seriously, be careful when blending hot liquids!
- Step 5: Combine Everything
- Add the cooked pasta, cheddar cheese, Gruyère cheese, and nutritional yeast to the saucepan with the garlic. Stir until the cheese is melted and the sauce is smooth. Pour in the butternut squash mixture and stir to combine. It's gonna be thick and cheesy and amazing.
- Step 6: Bake (Optional, but Highly Recommended)
- Transfer the mac and cheese to a greased baking dish. Top with breadcrumbs and Parmesan cheese. Bake for 15-20 minutes, or until bubbly and golden brown. This is where I usually make a mess, but it's always worth it.
I made this after a particularly brutal breakup, and let me tell you, it was exactly what I needed. Comfort food at its finest. Every cheesy bite was a tiny victory.
Storage and Reheating Tips
This mac and cheese is even better the next day! Store it in an airtight container in the fridge for up to 3 days. I microwaved it once and the sauce separated so don't do that lol. Reheat it gently on the stovetop with a splash of milk to bring back the creaminess.
Pro Tips & Variations
Feeling adventurous? Add some roasted vegetables like broccoli or Brussels sprouts. I tried adding bacon once, and honestly? It was amazing. For a spicier kick, try adding a pinch of cayenne pepper. In the fall, I love adding a sprinkle of cinnamon trust me on this one! I also once used sweet potato instead of butternut squash. Not bad, not bad at all…but butternut squash is still my fave.
What to Serve It With
This mac and cheese pairs perfectly with a simple green salad. But let’s be real, garlic bread is non-negotiable. A glass of crisp white wine also does the trick. This dish and your favorite rom-com? Yes, please. If you’re feeling fancy, a side of roasted asparagus is always a good idea.
Final Thoughts
This butternut squash mac and cheese is more than just a recipe; it’s a warm hug in a bowl. It’s the meal I make when I need a little extra comfort, a little extra love. It’s the perfect dish for a cozy night in, a family gathering, or even a solo Netflix binge. What does this meal mean to you? Share your own twists and variations in the comments below! What’s your favorite cheesy comfort food?
Frequently Asked Questions
- → Can I make this ahead of time?
Yep! You can make the squash puree and the cheese sauce ahead of time and store them separately in the fridge. Then, just combine and bake when you're ready. This saved me on Thanksgiving one year total lifesaver.
- → What if I don't have Gruyère cheese?
No worries! I've used Swiss cheese in a pinch, and it worked just fine. Fontina is another good option. Honestly, any melty cheese will do.
- → My sauce came out too thin. Help!
Oh, I’ve been there! Try adding a tablespoon of cornstarch mixed with a little cold milk. Whisk it into the sauce and cook for a few minutes until thickened.
- → How long does this really last in the freezer?
It freezes surprisingly well for up to 2 months. Just make sure to use a freezer-safe container. Don't use a glass dish learned that the hard way.
- → Can I add spinach to this?
Totally! I love adding spinach, kale, or even roasted broccoli. Just add it in with the pasta in the last few minutes of cooking.