
 Pin it
Okay, so picture this: It's a rainy Sunday, I'm craving something sweet but healthy (because, balance, right?), and I stumble across this recipe for no-bake protein balls. Sounded easy enough. Famous last words, am I right? My kitchen was already a disaster from my earlier attempt at baking bread (don’t ask), but I was feeling ambitious. The warm spices promised to make my tiny apartment smell amazing, and I envisioned myself curled up on the couch, snacking like a health goddess. Let's just say, the reality involved more flour on my face than in the bowl and a near-miss with the smoke alarm when I got distracted by a particularly dramatic cat video. But, hey, those little protein balls turned out pretty darn amazing, despite the chaos. And that's the beauty of this recipe it's forgiving (like a good friend who laughs at your kitchen fails) and adaptable to whatever madness is happening in your life (and your kitchen).
So, the first time I made these, I totally forgot the vanilla extract. I was convinced I’d ruined them. But, you know what? They were still delicious! Proof that even with my usual kitchen shenanigans, these things are pretty much foolproof.
Ingredients
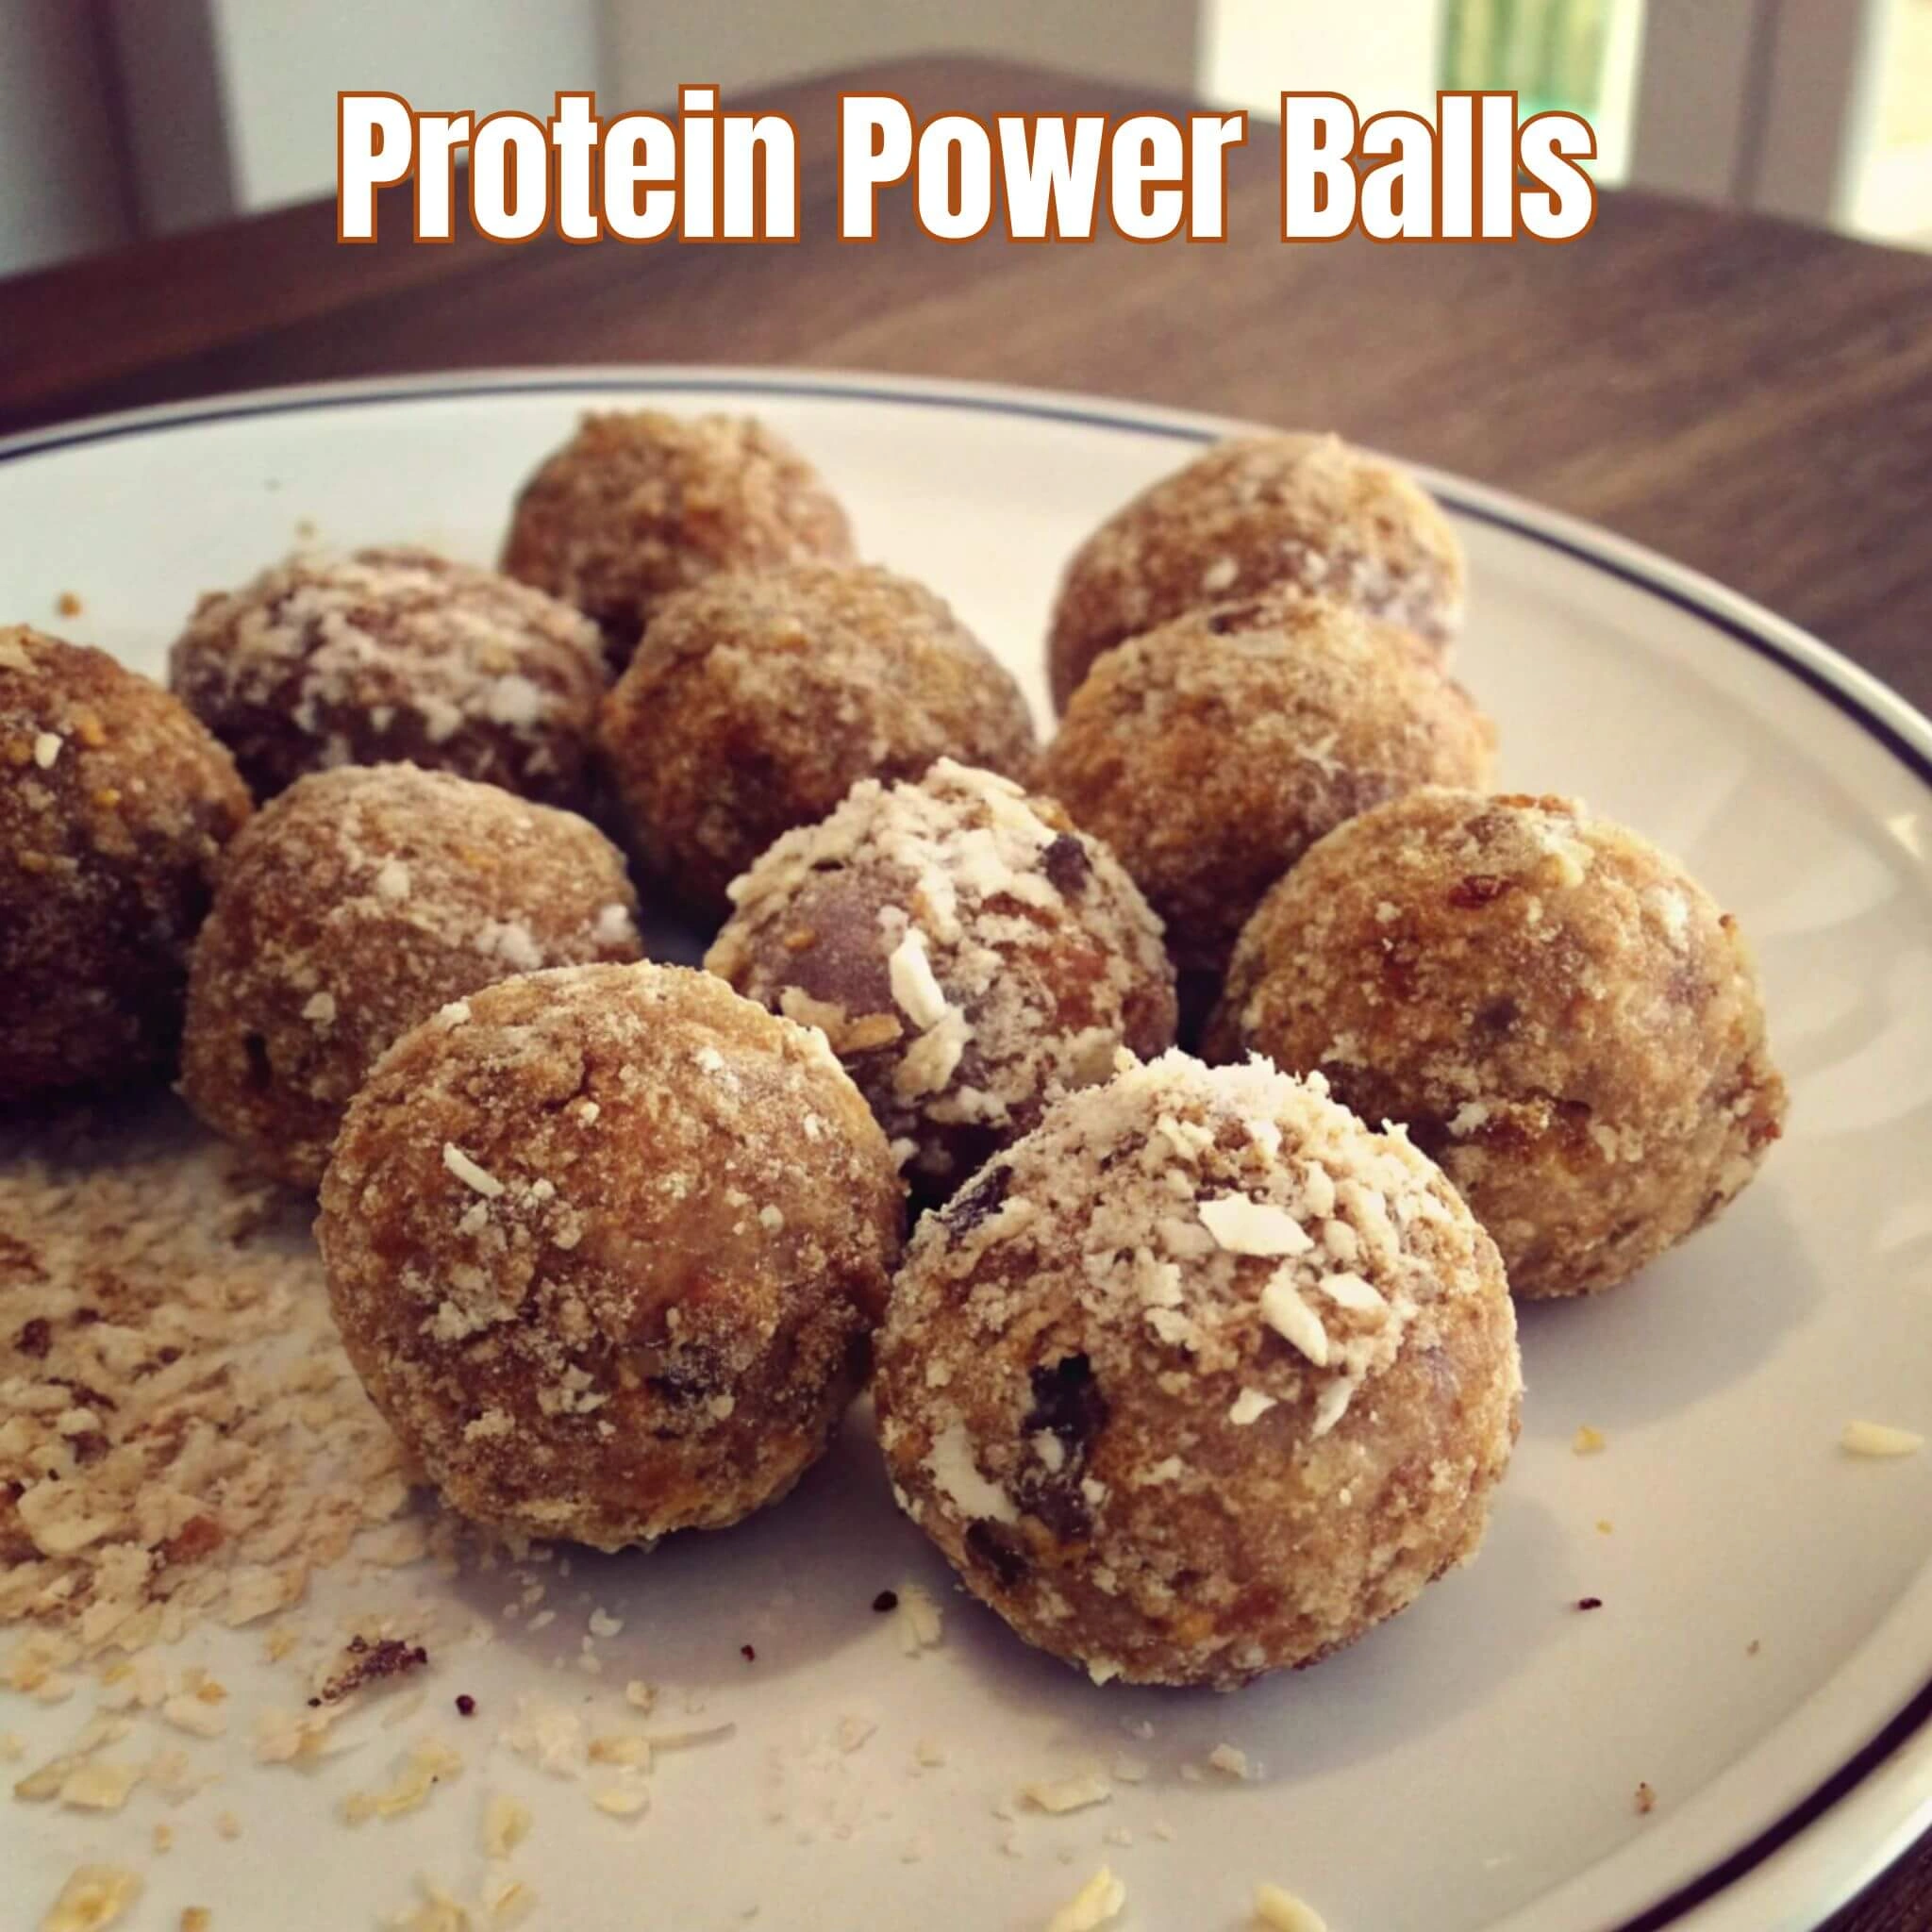
- Base: Rolled Oats: These are the heart and soul of these power balls. Don't even think about using quick oats the texture will be all wrong. Trust me. I tried it once, and it was like eating oat mush. No thanks.
- Protein Boost: Protein Powder: I use vanilla, but chocolate, peanut butter, whatever floats your boat! Just make sure it's the kind that mixes well, or you'll end up with clumps. Learned that the hard way. shudders
- Sticky Stuff: Nut Butter: Peanut butter, almond butter, cashew butter… I’ve used them all! Almond butter is my fave for that extra bit of fancy, but honestly, peanut butter is a classic for a reason.
- Sweet Treat: Honey/Maple Syrup: This is where the magic happens. A little drizzle of sweetness to bring it all together. And to be real, sometimes I add a little extra. Shhh, don't tell anyone.
- Flavor Boosters: Cocoa Powder, Cinnamon: Cocoa powder is my go-to, but cinnamon adds a warm, comforting vibe. Get creative! Throw in some spices, maybe a little ginger… you do you.
- Finishing Touches: Chia Seeds, Flax Seeds (optional): These little guys add some extra texture and nutrients. Plus, they make you feel like a health guru, even if your kitchen looks like a tornado hit it.
Instructions
- Step 1: Gather Your Troops (aka ingredients)
- Get everything out on the counter. Trust me, it makes the process so much smoother. This is the part where I usually put on some music and dance around a little while I measure everything. It’s important to embrace the pre-cooking ritual, right?
- Step 2: Dry Ingredients Dance Party
- In a big bowl, mix together the oats, protein powder, cocoa powder, and whatever other dry goodies you’re using. I’ve definitely forgotten the protein powder once… oops. It wasn’t terrible, just not as… powerful.
- Step 3: Wet Ingredients Get Cozy
- In another bowl (or, let's be real, sometimes I just use the same measuring cup), whisk together the nut butter, honey/maple syrup, and vanilla extract. Careful not to get too vigorous with the whisking nut butter can go flying. Ask me how I know.
- Step 4: The Big Mix
- Pour the wet ingredients into the dry ingredients and mix it all up! This is where things can get messy. Use a spoon, use your hands (clean ones, please), whatever works. The goal is to get everything evenly coated and sticky.
- Step 5: Roll 'Em Up
- Roll the mixture into little balls. I like mine bite-sized, but make them as big or as small as you want. This is the part where I usually sneak a little taste… for quality control purposes, obviously.
- Step 6: Chill Out (Literally)
- Pop those little protein balls in the fridge for at least 30 minutes. They’ll firm up and become even more delicious. This is also the perfect time to clean up your kitchen… or not. No judgment here.
I remember making a batch of these after a particularly epic fail of a day at work. Honestly, rolling those little balls was strangely therapeutic. And eating them? Pure bliss.
Storage and Reheating Tips
These protein balls are best kept in the fridge in an airtight container. They’ll last for about a week, if you can resist them that long. No need to reheat them they’re perfect straight from the fridge. I once tried microwaving one, thinking it would be this warm, gooey treat. Let’s just say it wasn't my finest moment. Sticky mess alert!
Pro Tips & Variations
I love adding chopped nuts or dried fruit to these. Cranberries and walnuts? Yes, please! I also tried adding some shredded coconut once… it was… interesting. A little too coconut-y for me, but my friend loved it. So, you know, experiment! For a special occasion, you could even drizzle some melted chocolate over them. Because why not?
What to Serve It With
These protein balls are the perfect grab-and-go snack, but they're also great with a glass of milk (almond or regular), a cup of tea, or even a cheeky glass of wine after a long day. Honestly, they go with pretty much anything. Except maybe soup. Don't do that.
Final Thoughts
These little protein power balls have become my go-to snack. They're easy, delicious, and they make me feel good, inside and out. They remind me that even when things are chaotic (like my kitchen usually is), there’s always room for a little sweetness. What are your favorite protein ball additions? Tell me everything!
Frequently Asked Questions
- → Can I make this ahead of time?
Absolutely! These are perfect for meal prepping. I make a big batch on Sunday and snack on them all week. Life saver.
- → What if I don't have honey?
Maple syrup works great! I've also used agave nectar in a pinch. It changes the flavor a little, but it totally works.
- → My mixture is too dry!
Oh, I’ve been there! Just add a little more nut butter or honey, a tablespoon at a time, until it comes together.
- → How long do these last in the freezer?
They’ll last for a couple of months in the freezer. Just make sure they’re in an airtight container. I once forgot about a batch in the back of my freezer… they were… not good.
- → Can I add chocolate chips?
Heck yes! Chocolate chips, chopped nuts, dried fruit… go wild! Just be aware that it might change the nutritional info a bit.